How to Reverse a Video in CapCut | A Complete Guide for PC, Mobile

Reversing a video can add a unique and creative touch to your content. Whether you want to create engaging social media clips or experiment with fun effects, knowing how to reverse a video in CapCut can be a game changer. The reverse effect can transform an ordinary video into something mesmerizing, making it more appealing to viewers.
CapCut makes video reversing easy, even for beginners. You do not need advanced editing skills. Follow these simple steps to reverse videos on desktop, mobile, or online.
How to Reverse a Video in CapCut on PC
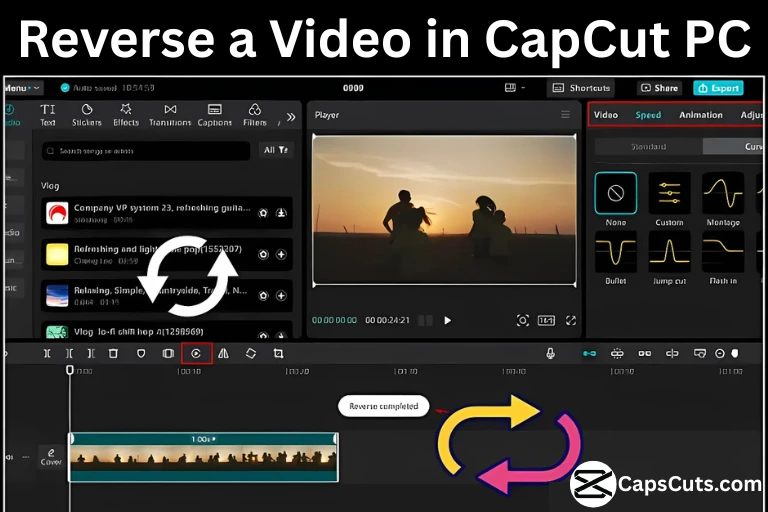
Using the CapCut Desktop Editor, you can effortlessly reverse your videos. Follow these steps:

- Launch CapCut: Open the CapCut desktop editor and click on “Create Project.”
- Import Your Video: Click the “Import” button and upload the video you want to reverse.
- Add to Timeline: Drag and drop the video onto the timeline.
- Apply the Reverse Effect: Click on the “Reverse” icon from the toolbar above the timeline and wait for the process to complete.
- Enhance (Optional): Add filters, transitions, or effects to make your video stand out.
- Export Your Video: Click on “Export,” set the desired quality, and save or share your reversed video.
How to Reverse a Video in CapCut on Mobile
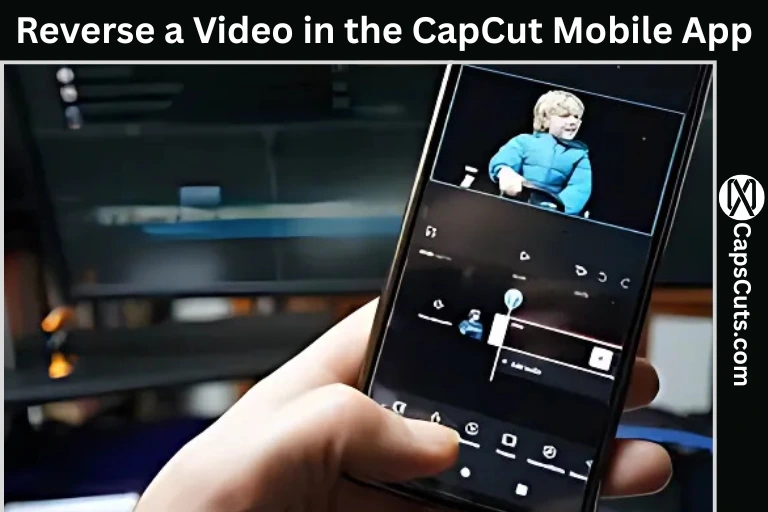
CapCut’s mobile app for Android and iOS makes it just as easy to reverse videos. Whether you are using the standard version or CapCut MOD APK, the process remains simple and effective. Here’s how:

- Open CapCut: Launch the app and tap on “New Project.”
- Import Your Video: Select the video from your gallery.
- Apply Reverse Effect: Tap on the “Reverse” option from the toolbar.
- Enhance Your Video: Add background music, transitions, or speed effects to make it more engaging.
- Export and Save: Tap on “Export” to save your reversed video in high quality.
How to Reverse a Video in CapCut Online
If you do not have CapCut installed, you can still use the online editor to reverse your videos:
- Go to CapCut Online Editor: Open your web browser and log into CapCut.
- Upload Your Video: Click “Upload” to add your video.
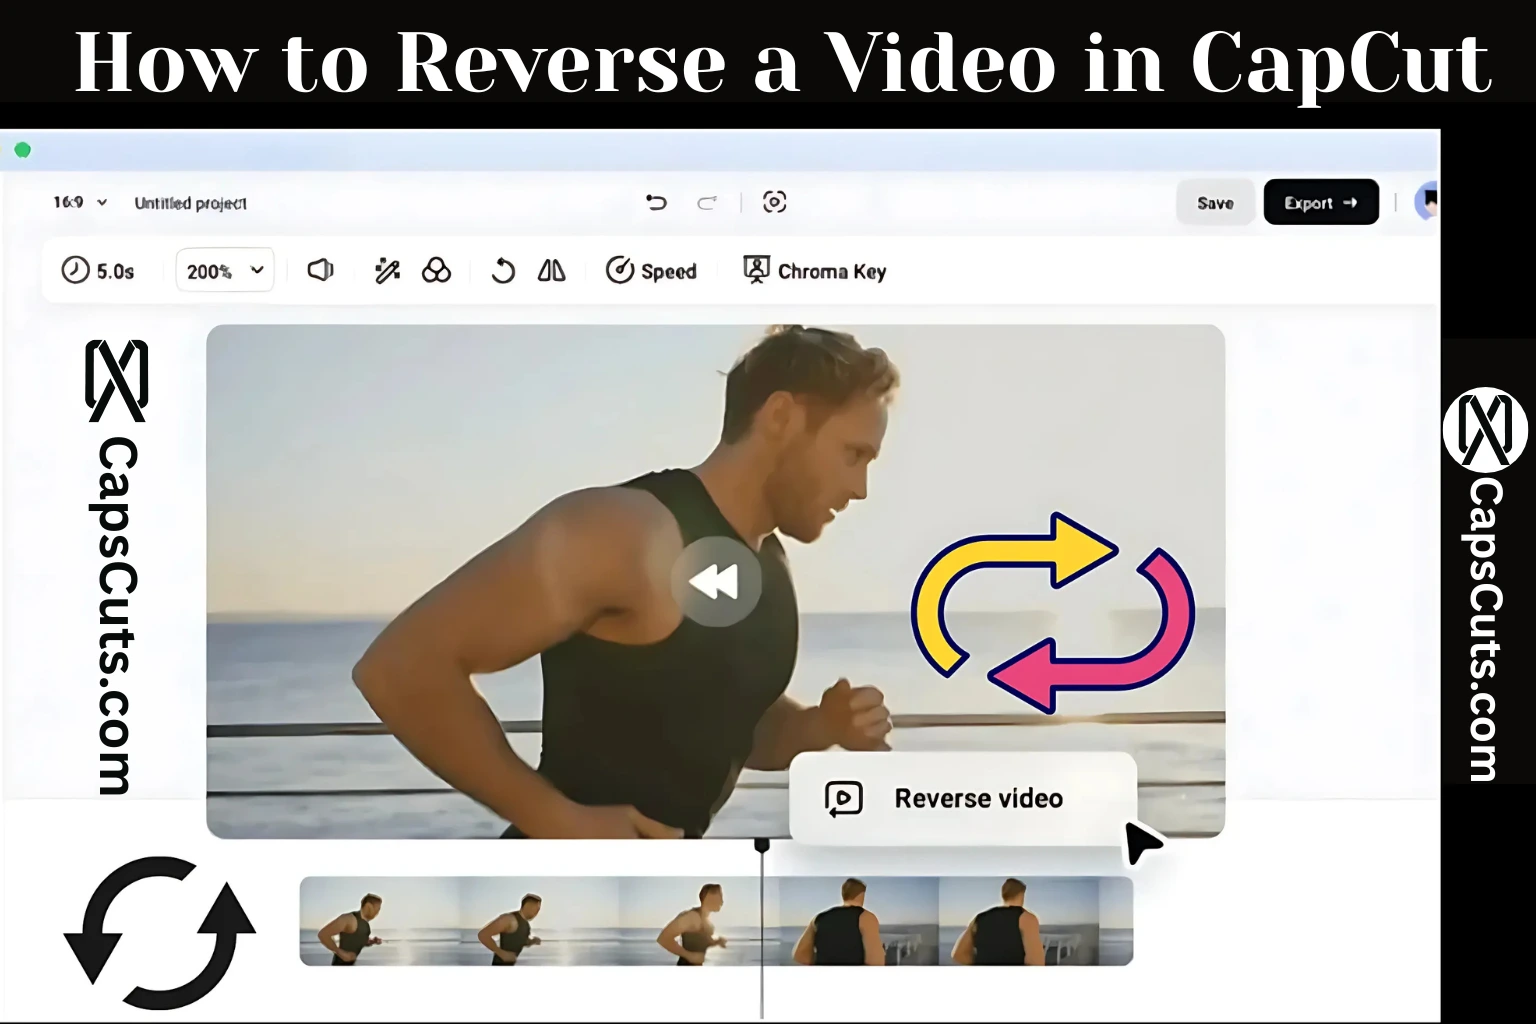
- Reverse the Video: Drag the video to the timeline and select the “Reverse” option from the toolbar.
- Download the Video: Once reversed, click “Export” and download the final version.
Tips to Enhance Your Reverse Video
To make your reversed video more creative, try these tips:
- Add Background Music: Sync it with the reversed motion for a dramatic effect.
- Use Speed Effects: Adjust the speed for a more cinematic feel.
- Apply Transitions: Smooth transitions between clips can make your video look more polished.
- Try Slow Motion: Combining slow motion with the reverse effect can create a stunning visual.
- Use Filters & Effects: Experiment with color grading and special effects to make your video unique.
Conclusion
Now that you know how to reverse a video in CapCut, you can easily create engaging and professional-looking videos. Whether you are using the desktop editor, mobile app, or online tool, the process is simple and beginner friendly. Plus, with additional filters, transitions, and music, your reversed video can become even more captivating. Start experimenting today and bring your videos to life!
Now that you know how to reverse a video in CapCut, it is time to get creative! Try out these techniques and make your videos more exciting today!
FAQs
Can I export high-quality reversed videos in CapCut?
Yes! CapCut allows you to export videos in high quality, including 4K resolution.
Does CapCut support all video formats for reversing?
CapCut primarily supports MP4, MOV, and AVI formats. Other formats may need conversion before reversing.
Can I add sound effects to my reversed video?
Absolutely! CapCut lets you add background music, voiceovers, and sound effects.
Can I reverse a video in CapCut without downloading the app?
Yes, CapCut’s online editor allows you to reverse and edit videos without installing the app.


